ExactDN (Easy IO) API
| Resource | Description |
|---|---|
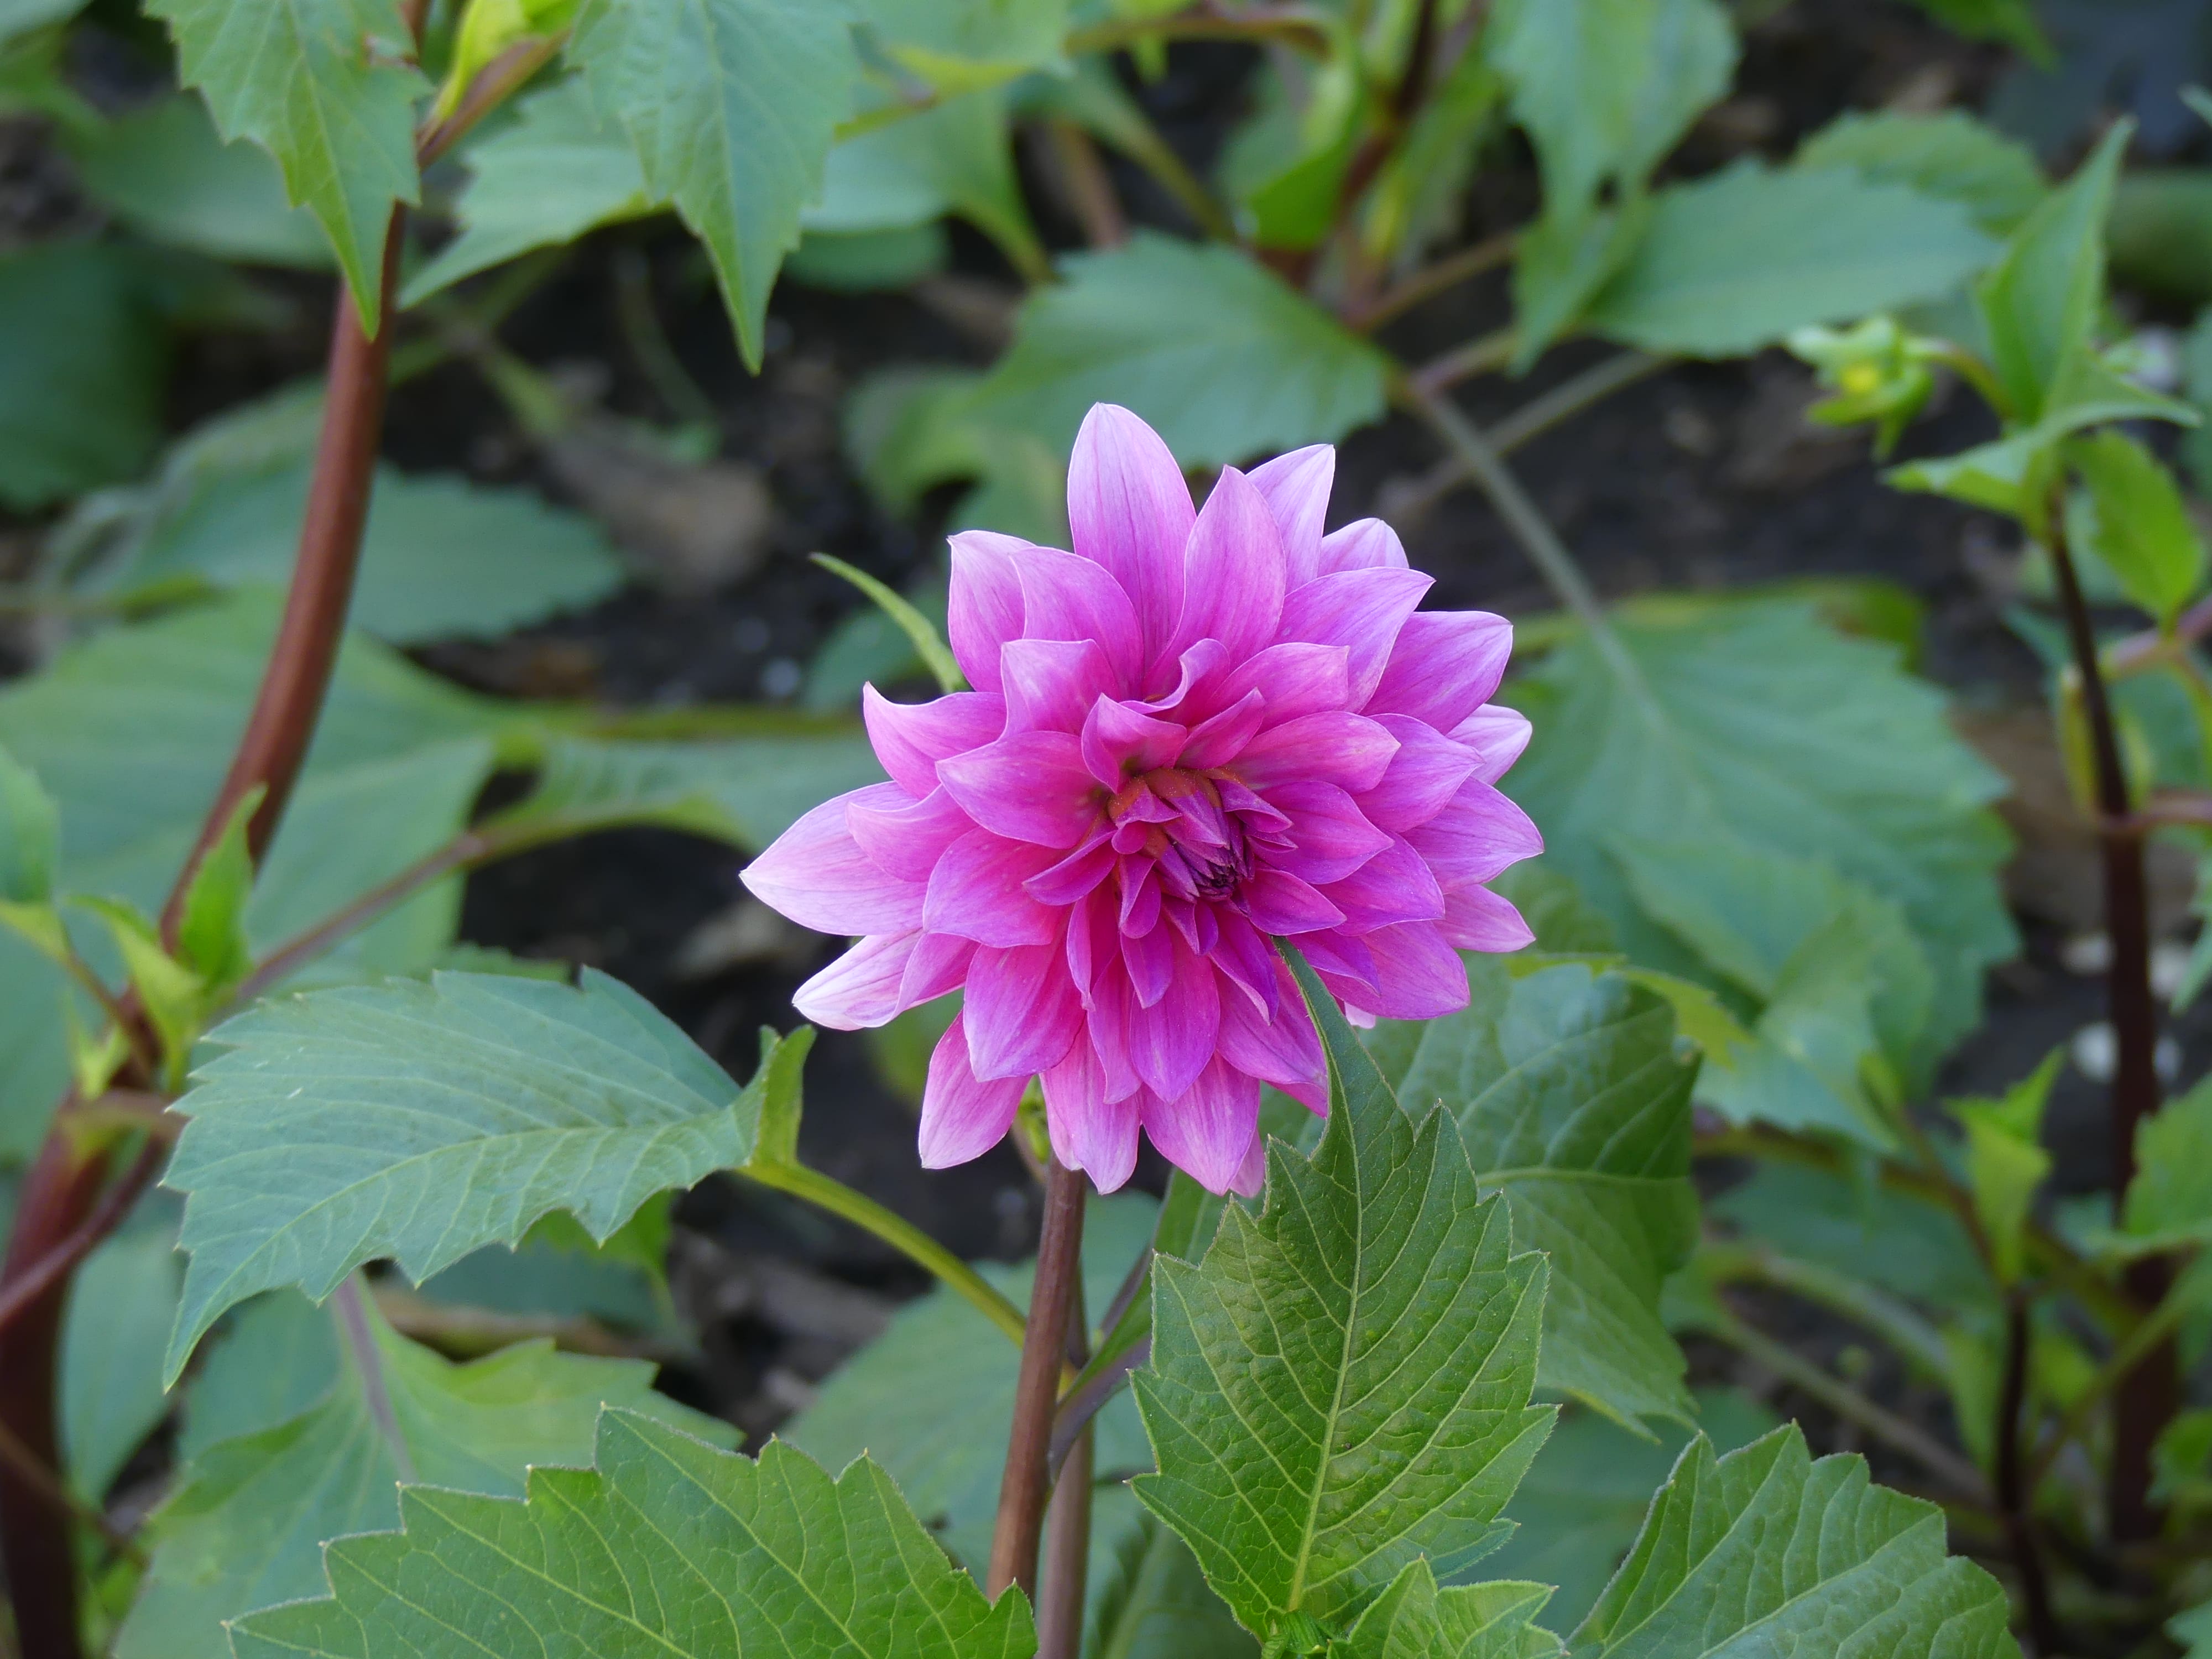
| GET?w= | Set the width of an image. Defaults to pixels, supports percentages.
https://example.exactdn.com/wp-content/uploads/2018/09/P1000773.jpg?w=400
https://example.exactdn.com/wp-content/uploads/2018/09/P1000773.jpg?w=25%
|
| GET?h= | Set the height of an image. Defaults to pixels, supports percentages.
https://example.exactdn.com/wp-content/uploads/2009/08/100_3933.jpg?h=200
https://example.exactdn.com/wp-content/uploads/2009/08/100_3933.jpg?h=20%
|
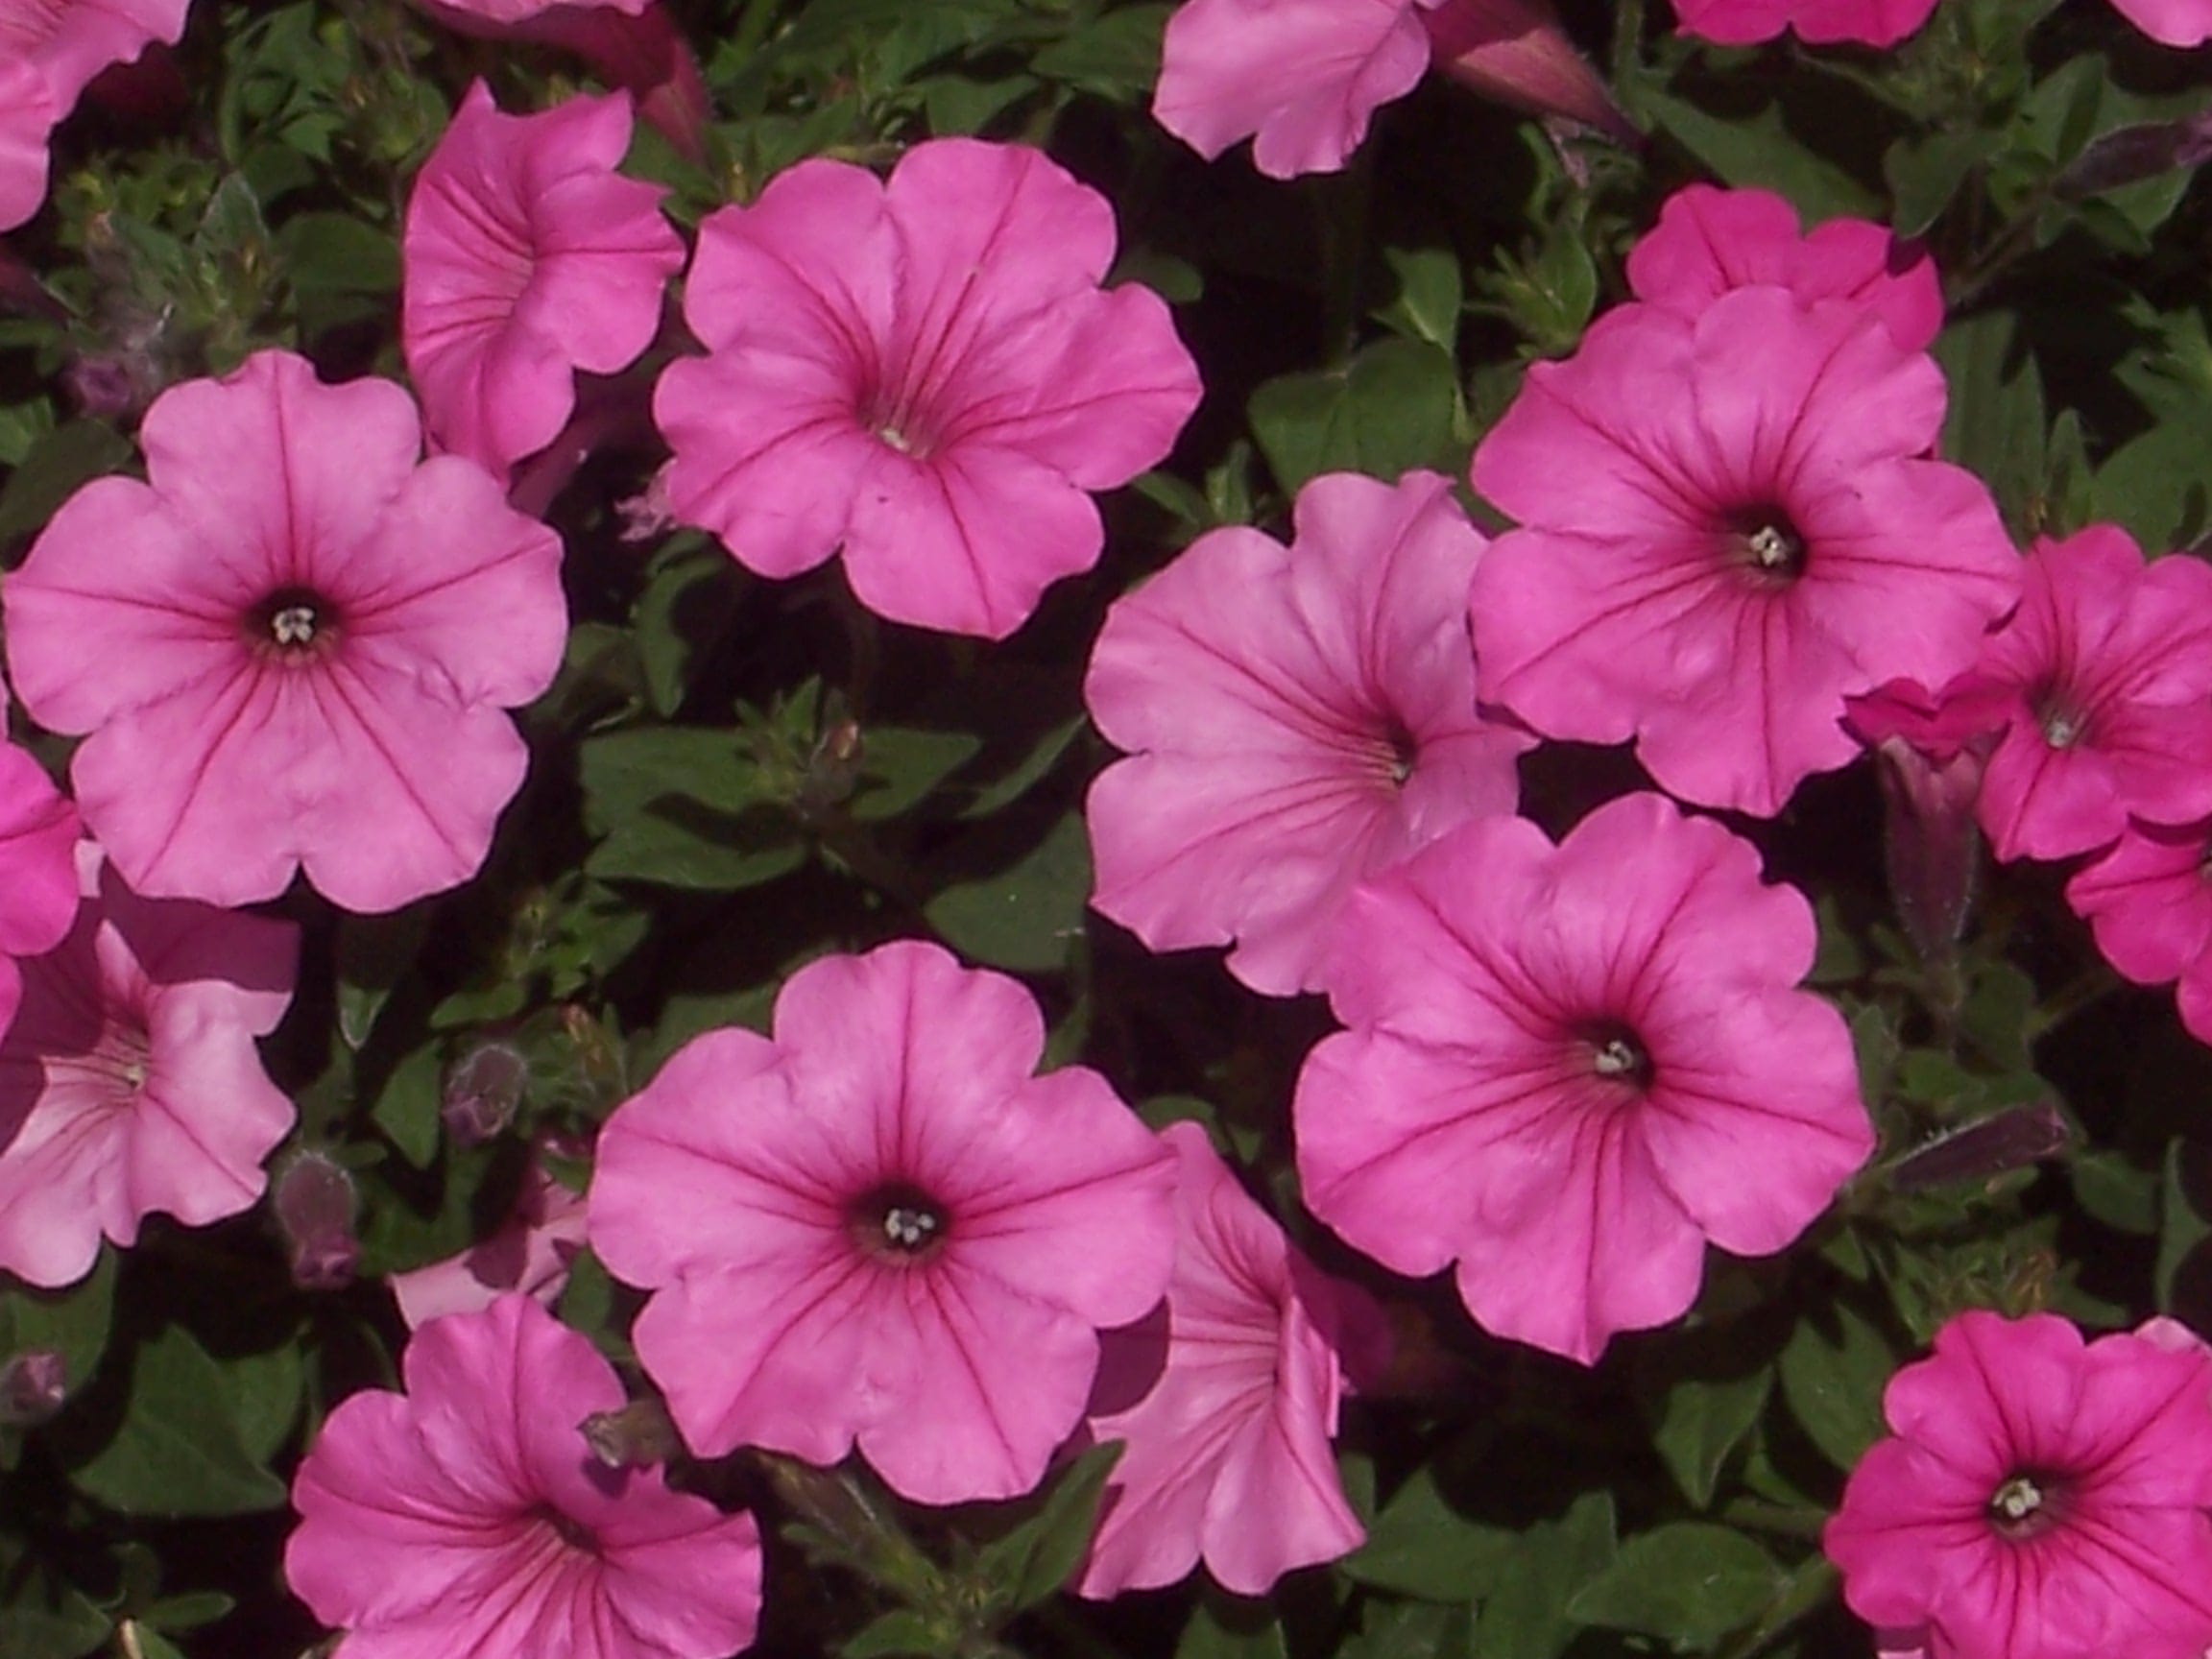
| GET?crop=x,y,w,h | Crop an image by percentages x-offset,y-offset,width,height (x,y,w,h). Percentages are used so that you don’t need to recalculate the cropping when transforming the image in other ways such as resizing it.
Original image: 100_3421.jpg crop=12,25,60,60 takes a 60% by 60% rectangle from the source image starting at 12% offset from the left and 25% offset from the top. https://example.exactdn.com/wp-content/uploads/2009/08/100_3421.jpg?crop=12,25,60,60
crop=160px,160px,768px,768px takes a 768 by 768 square starting at 160 by 160. https://example.exactdn.com/wp-content/uploads/2009/08/100_3421.jpg?crop=160px,160px,768px,768px
crop=160px,25,1400px,60 shows you can also mix the parameters types, for example a 1400 pixels by 60% rectangle from the image starting at 160 pixels by 25%. https://example.exactdn.com/wp-content/uploads/2009/08/100_3421.jpg?crop=160px,25,1400px,60
|
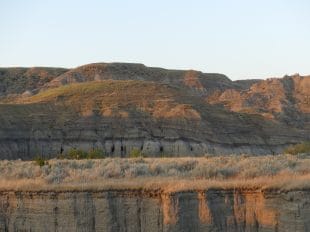
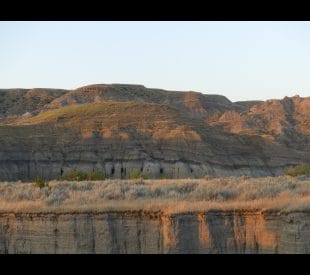
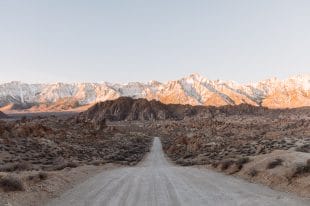
| GET?resize= | Resize and crop an image to exact width,height pixel dimensions. Set the first number as close to the target size as possible and then crop the rest. Which direction it’s resized and cropped depends on the aspect ratios of the original image and the target size.
https://example.exactdn.com/wp-content/uploads/2007/07/100_2333.jpg?resize=400,220
https://example.exactdn.com/wp-content/uploads/2007/07/100_2333.jpg?resize=200,400
This is useful for taking an image of any size and making it fit into a certain location while losing as little of the image as possible. |
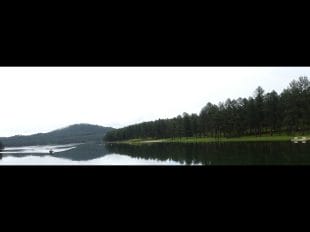
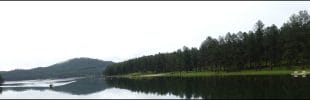
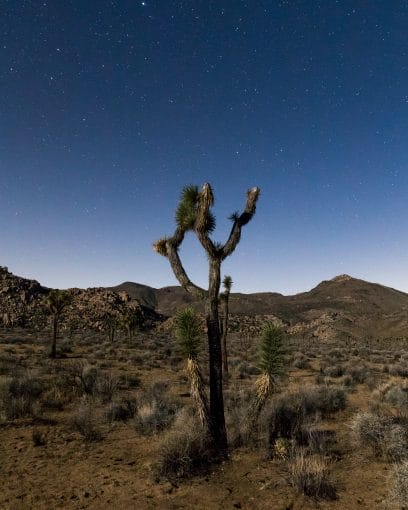
| GET?fit= | Fit an image to a containing box of width,height dimensions. Image aspect ratio is maintained.
https://example.exactdn.com/wp-content/uploads/2013/01/100_2428.jpg?fit=300,300
https://example.exactdn.com/wp-content/uploads/2009/08/100_3827.jpg?fit=300,300
For example, |
| GET?lb= | Add black letterboxing effect to images, by scaling them to width, height while maintaining the aspect ratio and filling the rest with black.
https://example.exactdn.com/wp-content/uploads/2018/09/P1010036.jpg?lb=310,275 Original image
?lb=310,275
|
| GET?ulb= | Remove black letterboxing effect from images with ulb. This function takes only one argument, true.
https://example.exactdn.com/wp-content/uploads/2018/09/P1000633.jpg?ulb=true Original image
?ulb=true
|
| GET?filter= | The filter parameter is optional and is used to apply one of multiple filters. Valid values are: negate, grayscale, sepia, edgedetect, emboss, blurgaussian, blurselective, meanremoval.
Original image
filter=negate
filter=grayscale
filter=sepia
filter=edgedetect
filter=emboss
filter=blurgaussian
filter=blurselective
filter=meanremoval
|
| GET?brightness= | Adjust the brightness of an image. Valid values are -255 through 255 where -255 is black and 255 is white. Higher is brighter. The default is zero.
brightness=-40 will darken an image by 40 and brightness=80 will brighten an image by 80. https://example.exactdn.com/wp-content/uploads/2018/09/DeathtoStock_IntotheLight-10.jpg?brightness=-40 https://example.exactdn.com/wp-content/uploads/2018/09/DeathtoStock_IntotheLight-10.jpg?brightness=0 https://example.exactdn.com/wp-content/uploads/2018/09/DeathtoStock_IntotheLight-10.jpg?brightness=80 brightness=-40
brightness=0
brightness=80
|
| GET?contrast= | Adjust the contrast of an image. Valid values are -100 through 100. The default is zero.
contrast=-50 will decrease contrast by 50 and contrast=50 will increase contrast by 50. https://example.exactdn.com/wp-content/uploads/2007/03/100_1723.jpg?contrast=-50 https://example.exactdn.com/wp-content/uploads/2007/03/100_1723.jpg?contrast=0 https://example.exactdn.com/wp-content/uploads/2007/03/100_1723.jpg?contrast=50 contrast=-50
contrast=0
contrast=50
|
| GET?colorize= | Add color hues to an image with colorize by passing a comma separated list of red,green,blue (RGB) values such as 255,0,0 (red), 0,255,0 (green), 0,0,255 (blue).
https://example.exactdn.com/wp-content/uploads/2018/09/DeathtoStock_IntotheLight-08.jpg?colorize=100,0,0
https://example.exactdn.com/wp-content/uploads/2018/09/DeathtoStock_IntotheLight-08.jpg?colorize=0,100,0
https://example.exactdn.com/wp-content/uploads/2018/09/DeathtoStock_IntotheLight-08.jpg?colorize=0,0,100
colorize=100,0,0
colorize=0,100,0
colorize=0,0,100
|
| GET?smooth= | The smooth parameter can be used to smooth out the image. Can be any float from 0 on up: zero is maximum smoothing, larger numbers produce less smoothing.
https://example.exactdn.com/wp-content/uploads/2018/09/P1000672.jpg?smooth=1 Original image
smooth=1
|
| GET?zoom= | Use zoom to size images for high pixel ratio devices and browsers when zoomed. Can be used with w, h, fit, and resize, but not available with crop. Zoom is intended for use in srcset attributes or by scripts such as devicepx.js which automatically set the zoom level. Valid zoom levels are 0.1-10.
https://example.exactdn.com/wp-content/uploads/2018/09/DeathtoStock_HotCold-01.jpg?w=310&zoom=2 Original image
zoom=2
|
| GET?quality= | Use the quality parameter to manage the quality output of resized JPEG images. The quality is also used for any operation that alters the image content, such as filter or smooth. Valid settings are between the values between 20 and 90. Any unaltered images are compressed in lossless mode, so the quality level is not needed. The maximum quality level for any given image is based on the auto-detected quality level of the original image. Setting the quality for PNG images has no effect, the resized images are saved at highest quality possible. When specifying 100 as the quality for PNG to WebP operations, a lossless compressed image will be produced. In JPG to WebP conversion, the quality range is 20-90.
Note that the default quality setting for JPEGs is 82, and for WebP images is 75. https://example.exactdn.com/wp-content/uploads/2018/09/DeathtoStock_HotCold-03.jpg?h=510&quality=50 Original image
quality=50
|
| GET?strip= | Use the strip functionality to remove JPEG image Exif, IPTC, and comments from the output image to reduce the image file size without having any visual data removed from the image (ICC/color profiles will be preserved). If orientation data is included in the Exif metadata, the image will be rotated accordingly. Set this parameter to all to enable this function.
https://example.exactdn.com/wp-content/2012/06/sample.jpg?strip=all |
| GET?lossy= | Use the lossy parameter to enable premium lossy compression for your images. You may control the quality level by using a number in the 70-90 range, but the default is 80.
https://example.exactdn.com/wp-content/2012/06/sample.jpg?lossy=1 |
| GET?ssl= | Use the ssl parameter to enforce secure connections if your zone is configured to use an insecure origin. Normally, you should setup your zone with https and the server will then automatically enforce secure connections.
https://example.exactdn.com/wp-content/2012/06/sample.jpg?ssl=1 |


